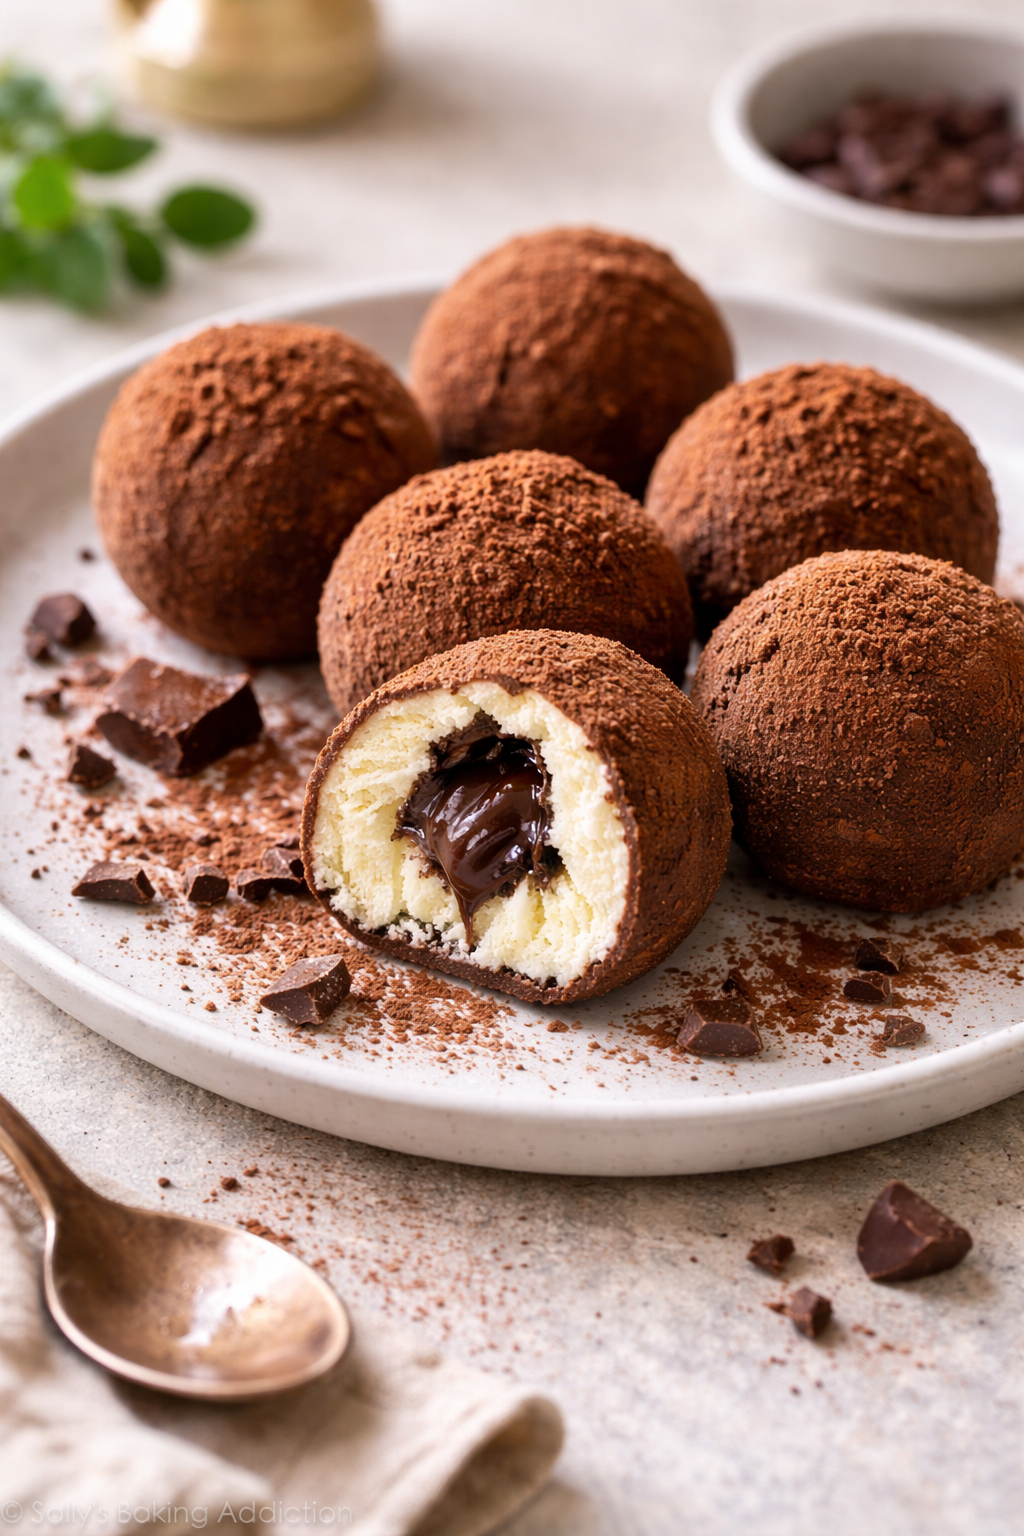
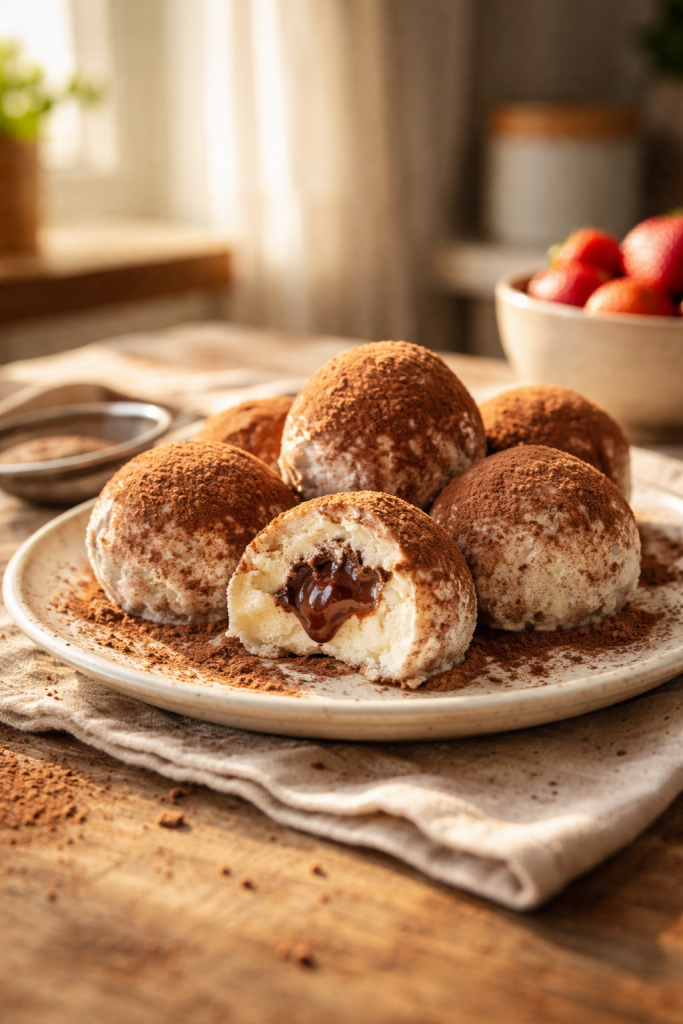
No-bake ice cream surprise balls are a playful freezer dessert that feels special without requiring much effort. They combine creamy vanilla ice cream with a bold hidden center for contrast in every bite. You don’t need any equipment beyond a bowl and a spoon, just a little patience while they firm up.
Why you’ll love this recipe
- no oven required
- make-ahead freezer dessert
- fun contrast of creamy and rich
Difficulty: Easy
Prep Time: 20 minutes
Cook Time: 5 minutes
Total Time: 1 hour 25 minutes (including freezing)
Servings: 6 balls
More ideas: Easy White Chocolate Cream Cups with Citrus
Easy Panna Cotta in 10 Minutes
Ingredients
Ingredient Notes & Substitutions
- no dark chocolate → use milk chocolate for a milder center
- no heavy cream → use half-and-half
- no banana → use strawberries, raspberries, or even a spoon of nut butter
- no cocoa powder → roll in toasted coconut or finely chopped nuts
Instructions
- Place the chopped chocolate in a small saucepan with the heavy cream and butter.
- Heat gently over low heat, stirring until smooth and glossy.
- Remove from heat and let the mixture cool to room temperature.
- Tip: Let it cool fully so it firms up faster in the freezer.
- Spoon small mounds of the chocolate mixture onto a lined plate.
- Freeze for about 20–30 minutes, until solid to the touch.
- While the centers chill, let the vanilla ice cream sit at room temperature until soft enough to scoop but still cold and thick. It should hold its shape when pressed.
- Scoop a generous spoonful of ice cream and flatten it slightly in your palm or against a piece of parchment paper.
- Place one frozen chocolate piece or a small chunk of banana or berries in the center.
- Gently fold the ice cream around the filling, sealing it completely, and roll between your hands into a smooth ball.
- Tip: Work quickly so the outside stays firm and doesn’t melt.
- Roll each finished ball in cocoa powder or crushed cookies, coating lightly but evenly. The coating should cling without getting thick.
- Place the shaped balls on a tray lined with parchment paper.
- Freeze for at least 1 hour, or until fully firm.
- Tip: If they soften while shaping, return them to the freezer for 5–10 minutes before continuing.
Variations
- Use peanut butter mixed with powdered sugar as the hidden center.
- Swap vanilla ice cream for chocolate or caramel for a stronger outer flavor.
- Add a pinch of sea salt to the chocolate center for contrast.
FAQ
Can I make these ahead of time?
Yes, they keep well in the freezer for up to 3 days if stored in an airtight container.
Can I use store-bought chocolate sauce instead?
It’s better to make the thicker chocolate filling so it freezes solid and stays inside the ball.
Why is my ice cream melting too fast?
It may be too warm; return it to the freezer for a few minutes until firm but scoopable.
Storage Tips
Store the ice cream balls in a sealed container with parchment between layers to prevent sticking. Keep them in the coldest part of your freezer and serve directly from frozen for the best texture contrast.
I like making these when I want something fun in the freezer that feels a little different from regular scoops.
Try this next: Easy Mini Pavlova Bombs with Fruit and Cream
Easy Chocolate Avocado Banana Mousse


Leave a Reply