
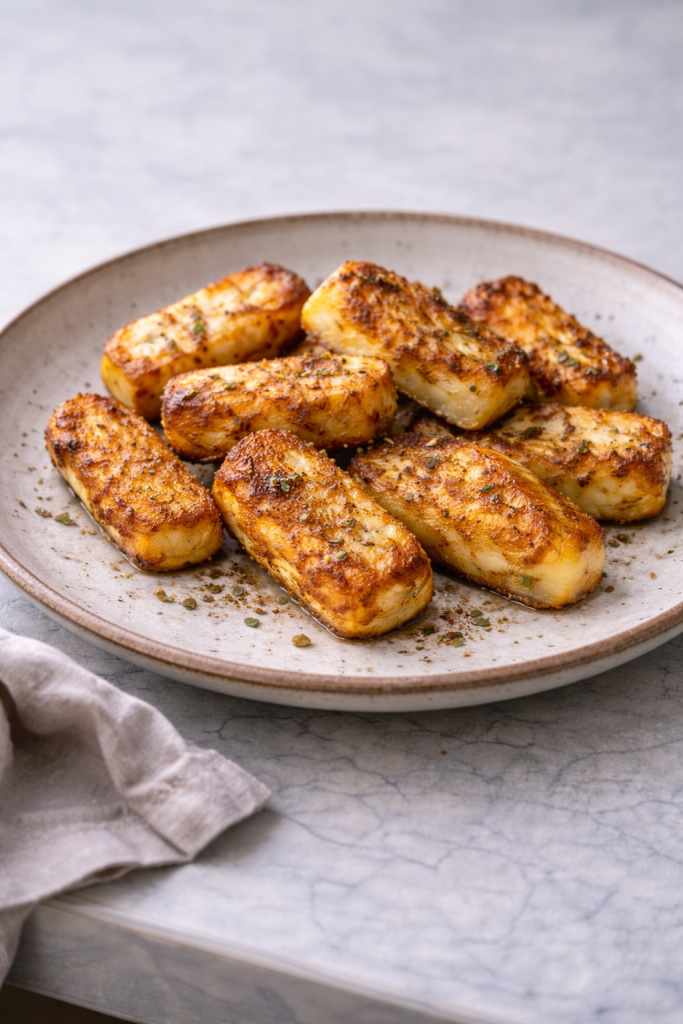
Some meals don’t need building from scratch — they just need one good ingredient treated the right way. Halloumi is perfect for that. It holds its shape, browns quickly, and turns into something crisp on the outside and soft inside with almost no effort.
Quick Overview
- Difficulty: Easy
- Prep Time: 5 minutes
- Cook Time: 10 minutes
- Total Time: 15 minutes
- Servings: 2 servings
Why This Works
Halloumi is a high-melting cheese, which means it doesn’t melt into a puddle when heated. Instead, it softens inside while forming a golden crust outside.
The air fryer enhances this effect. Because heat circulates evenly, the surface dries slightly and browns faster than in a pan, while the inside stays soft and slightly springy.
A light coating of oil helps the surface color evenly and prevents dry patches. The spices stick to the outside and toast gently as the halloumi cooks, adding flavor without overpowering its natural saltiness.
More ideas: Easy Harissa Halloumi Couscous Salad
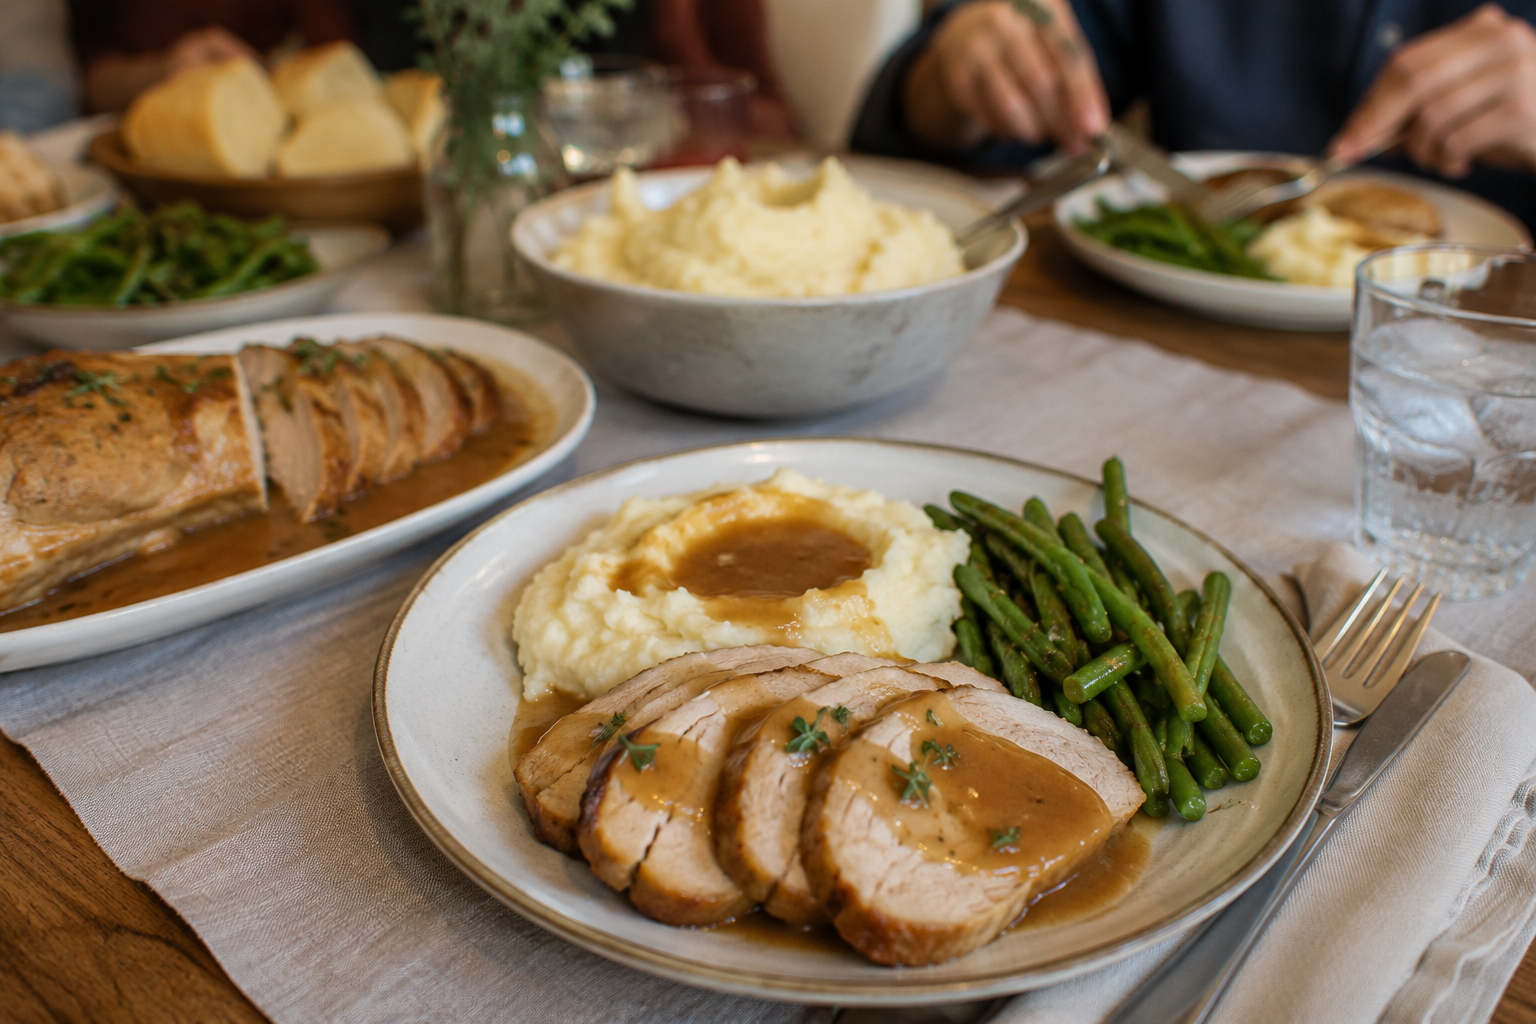
Quick Air Fryer Chicken Breasts for an Easy Everyday Dinner
Easy Crispy Air Fryer Baked Potatoes with Garlic Herb Butter
Ingredients
Instructions
- Cut the halloumi into thick slices or evenly sized bite-sized pieces. Thicker pieces (about 1.5–2 cm) work best — too thin and they can dry out before browning properly.
- Place the pieces in a bowl and add the olive oil, paprika, oregano, and black pepper. Toss gently until everything is evenly coated. You want a light coating, not excess oil pooling at the bottom.
- Preheat the air fryer for 2–3 minutes. Starting hot helps the surface begin browning immediately rather than slowly softening.
- Arrange the halloumi in a single layer in the basket, leaving small gaps between pieces. This allows hot air to circulate and prevents steaming.
- Cook at around 190°C / 375°F for 5 minutes. At this stage, the underside should begin turning golden.
- Turn the pieces carefully. The surface will already be slightly firm, so use tongs or a spatula.
- Cook for another 4–5 minutes. The halloumi should develop a golden, lightly crisp exterior while remaining soft inside.
- Remove and serve immediately. Halloumi firms up as it cools, so timing matters for the best texture.
What Actually Matters
- Piece thickness affects texture — too thin dries out
- Preheating helps immediate browning
- Spacing in the basket prevents steaming
- Serving hot keeps the inside soft and the outside crisp
Texture & Flavor
Done properly, you’ll get:
- a golden, lightly crisp outer layer
- a soft, slightly elastic interior
- a naturally salty, savory flavor with light spice
If it feels rubbery, it likely cooked too long. If it’s pale, it needed more time or better spacing.
Ingredient Swaps & Variations
- Different seasoning profiles
You can swap paprika and oregano for za’atar, chili flakes, garlic powder, or even a pinch of cumin. Keep spices dry — wet marinades reduce browning. - No oil version
Halloumi releases some fat as it cooks, so you can skip oil. However, the browning may be less even and slightly lighter. - Add a finishing element
Drizzle with honey or a squeeze of lemon after cooking. Sweetness or acidity balances the saltiness of the cheese and adds contrast. - Make it part of a meal
Serve with roasted vegetables, salad, or flatbread. You can also add it to grain bowls or wraps for a quick dinner. - Skewer version
Thread the pieces onto skewers before cooking. This makes turning easier and works well if you’re combining with vegetables.
Common Mistakes to Avoid
- Cutting pieces too thin
Thin slices cook too quickly and lose their soft interior. You end up with dry, chewy halloumi instead of a balanced texture. - Overcrowding the basket
When pieces are too close, they trap moisture and steam. This prevents the surface from crisping and leads to pale, soft results. - Cooking too long
Halloumi doesn’t stay soft indefinitely. Overcooking removes moisture and makes it rubbery rather than tender. - Skipping preheating
Starting in a cold air fryer delays browning and can cause the cheese to soften too much before a crust forms. - Adding wet ingredients before cooking
Liquids create steam and stop proper browning. Always add things like honey or lemon after cooking.
How to Serve
This is best eaten straight away while the contrast in texture is at its peak.
You can serve it:
- with flatbread and a simple salad
- alongside roasted vegetables
- in wraps or bowls
- or as a quick protein option on its own
FAQ
Can I use low-fat halloumi?
Yes, but it may be slightly less juicy and brown less evenly.
Why did mine turn rubbery?
It was likely overcooked or cut too thin.
Do I need to flip it?
Yes — flipping ensures both sides brown evenly.
Can I reheat it?
You can, but it won’t be as soft as when freshly cooked.
Try this next: Easy Mango Ginger Lime Soup
Fast Watercress Chicken Stir-Fry for a Light Evening Meal
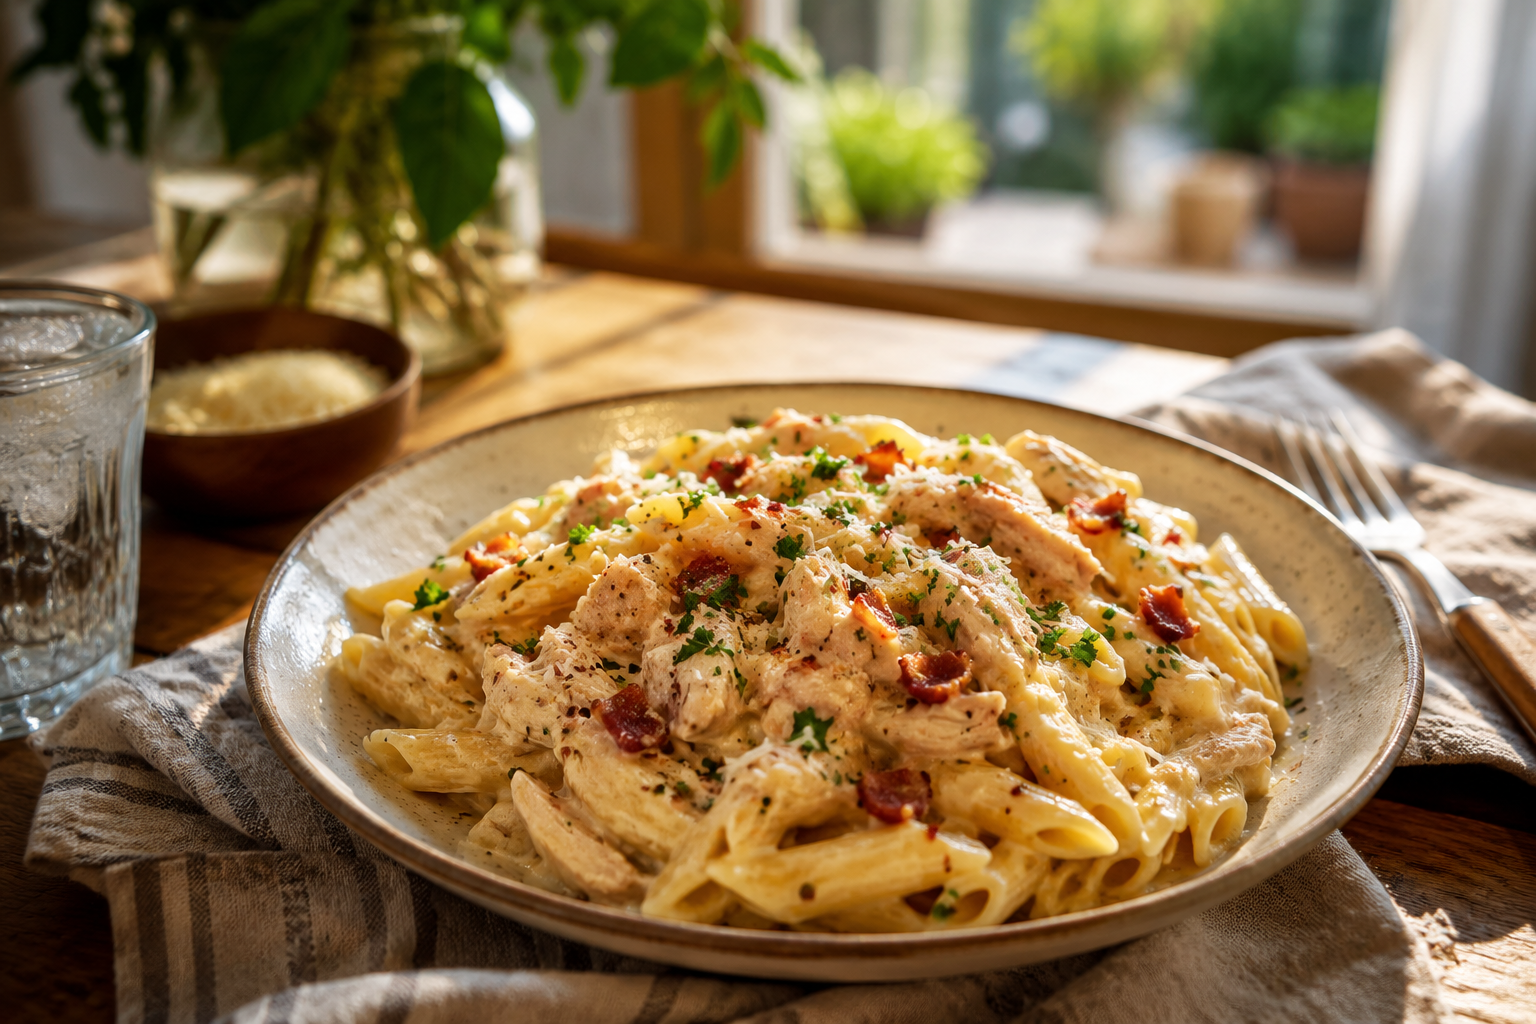
Creamy Salmon and Chive Pasta for a Quick Evening Dinner

Leave a Reply