
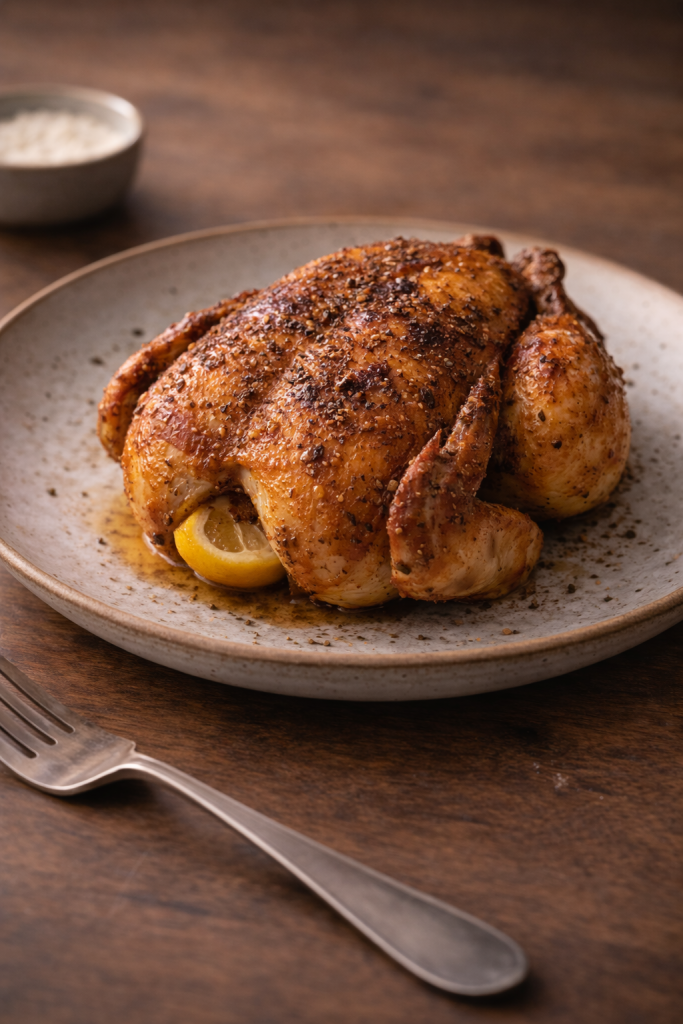
There are days when you want a proper roast chicken — something that feels like a full meal — but without heating the whole oven or spending hours in the kitchen. This air fryer version keeps things simple: minimal prep, steady cooking, and a result that’s juicy inside with crisp, well-seasoned skin.
Before You Start
- Difficulty: Easy
- Prep Time: 10 minutes
- Cook Time: 55 minutes
- Total Time: About 1 hour 5 minutes
- Servings: 4
Why This Method Works
Cooking a whole chicken in the air fryer might seem unusual, but it actually solves a common problem: uneven roasting. Because hot air circulates closely around the chicken, it cooks more evenly than in a large oven.
Starting breast-side down is a key step. The juices naturally move downward as the chicken cooks, so this position helps keep the breast meat moist during the first half of cooking. Flipping it later allows the skin on top to crisp and brown properly.
Drying the chicken before seasoning is just as important. Moisture on the surface creates steam, which prevents crisp skin. A dry surface + oil + direct heat = better browning and texture.
Try this next: Juicy Air Fryer Pork Joint for an Easy Home Roast
Easy Crispy Air Fryer Baked Potatoes with Garlic Herb Butter
10 Easy Chicken Dinner Ideas for Quick and Comfort Meals
Ingredients
What Actually Matters
- Drying the skin is essential for crispness
- Starting breast-side down improves juiciness
- Moderate temperature cooks evenly without burning
- Resting after cooking keeps the meat tender
Texture & Flavor
Done properly, you’ll get:
- crisp, lightly seasoned skin
- juicy breast meat (not dry or stringy)
- tender, flavorful dark meat
- subtle citrus and garlic notes throughout
If the skin is pale, it likely needed more time uncovered. If the meat is dry, it may have cooked too long or skipped resting.
Ingredient Swaps & Variations
- Different seasoning profiles
You can swap paprika and thyme for blends like Italian seasoning, smoked paprika + garlic powder, or even a simple salt + pepper + lemon zest mix. Just keep the salt level similar to maintain balance. - Butter instead of oil
Rubbing softened butter under or over the skin gives richer flavor and deeper browning. However, butter can brown faster, so keep an eye on the skin toward the end. - Add vegetables underneath
If your air fryer is large enough, place chunks of potato, carrot, or onion underneath. They’ll absorb juices as the chicken cooks, but make sure they don’t block airflow too much. - No lemon option
You can skip the lemon or replace it with onion halves or herbs. The goal is to lightly perfume the inside, not overpower it. - Spicier version
Add chili flakes or cayenne to the seasoning mix. Keep it balanced so it doesn’t dominate the natural flavor of the chicken.
Instructions
- Pat the chicken dry thoroughly with paper towels. Take your time here — removing surface moisture is what allows the skin to crisp instead of steam.
- Place the chicken on a board and rub it all over with olive oil. Make sure to coat the entire surface evenly, including the sides and legs.
- Sprinkle the salt, pepper, paprika, and thyme over the chicken. Rub the seasoning into the skin so it sticks rather than sitting loosely on top.
- Gently loosen the skin in a few spots (like near the breast) and press the crushed garlic underneath where possible. This adds flavor directly to the meat without burning the garlic on the outside.
- Place the lemon half inside the cavity. As it heats, it releases steam and light acidity, which subtly flavors the chicken from the inside.
- Place the chicken breast-side down in the air fryer basket. Make sure it fits comfortably and isn’t pressed tightly against the sides.
- Cook at 180°C / 356°F for 30 minutes. During this stage, the underside cooks in its own juices, helping keep the meat tender.
- Carefully turn the chicken breast-side up. Use tongs or two utensils — it will be hot and slightly delicate at this stage.
- Cook for another 25 minutes. The skin should become golden and slightly crisp. The chicken is ready when the juices run clear and the thickest part (thigh) feels firm but not hard.
- Remove the chicken and let it rest for at least 10 minutes before carving. This step allows the juices to redistribute, keeping the meat moist instead of letting them run out immediately.
Common Mistakes to Avoid
- Not drying the chicken properly
Any moisture left on the skin turns into steam, which prevents crisping. The result is soft, rubbery skin instead of a golden finish. - Skipping the flip halfway
Cooking only breast-side up from the start can dry out the breast before the rest is fully cooked. The flip balances moisture and browning. - Overcrowding the air fryer
If the chicken is too large for the basket, airflow is restricted. This leads to uneven cooking and pale areas. - Cooking at too high a temperature
Higher heat might crisp the skin quickly but leave the inside undercooked or dry out the outer layers. - Cutting too early
Slicing immediately after cooking causes juices to run out, making the meat seem drier. Resting is not optional here.
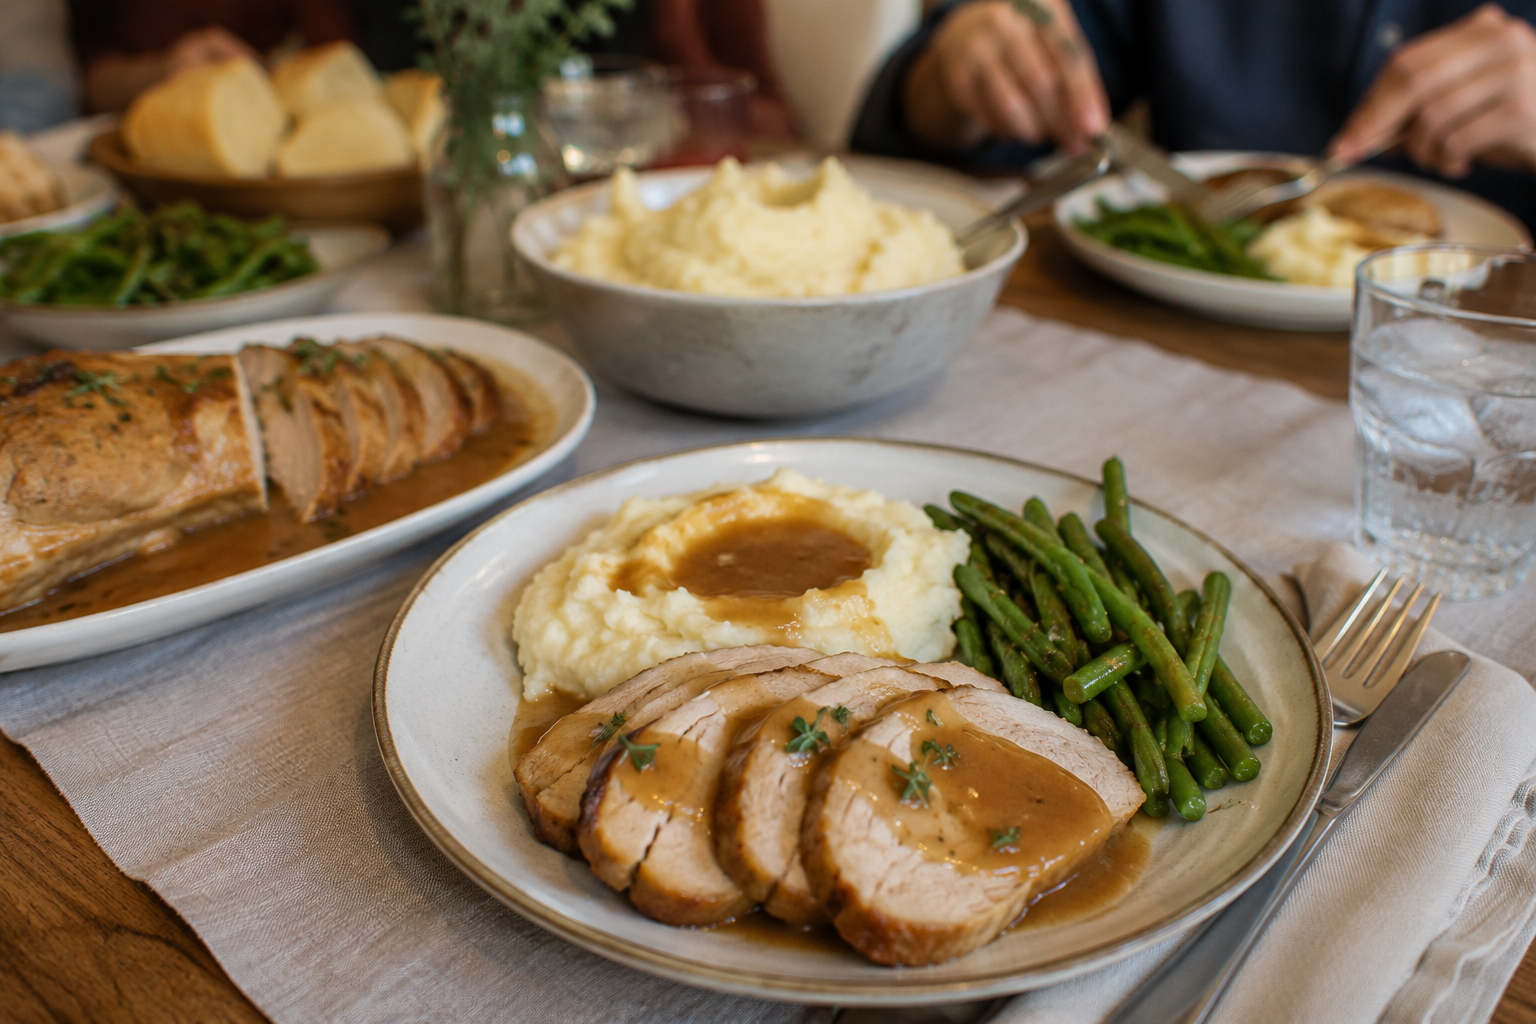
How to Serve
This chicken works as a full meal centerpiece. You can serve it:
- with roasted or air-fried potatoes
- alongside a simple salad
- with bread to soak up juices
- or as part of multiple meals (leftovers work well in sandwiches or wraps)
FAQ
Can I cook a larger chicken?
Yes, but increase cooking time slightly and make sure it fits without touching the sides too tightly.
Do I need to preheat the air fryer?
It helps with more even cooking, but it’s not strictly required.
How do I know it’s fully cooked?
Juices should run clear, and the thickest part of the thigh should feel firm. A thermometer should read about 75°C / 165°F.
Can I store leftovers?
Yes, keep them in the fridge and reheat gently to avoid drying out.
Try this next: Air Fryer Crispy Chicken Wings
Quick Air Fryer Chicken Breasts for an Easy Everyday Dinner
One-Pot Chili Mac & Cheese
Leave a Reply