
There’s something very specific about this kind of spread. It’s not trying to be fancy. It’s just supposed to be good on bread — that’s it.
And honestly, this one surprised me. I expected something… fine. But once everything blends together — garlic, beans, a bit of richness — it actually hits that savory, slightly nostalgic vibe.
I’ve made it a few times now, and every time it disappears faster than expected. Especially on warm bread.
Quick Info:
- Difficulty: Easy
- Prep Time: 10 minutes
- Cook Time: 10 minutes
- Total Time: ~20 minutes
- Servings: 3–4
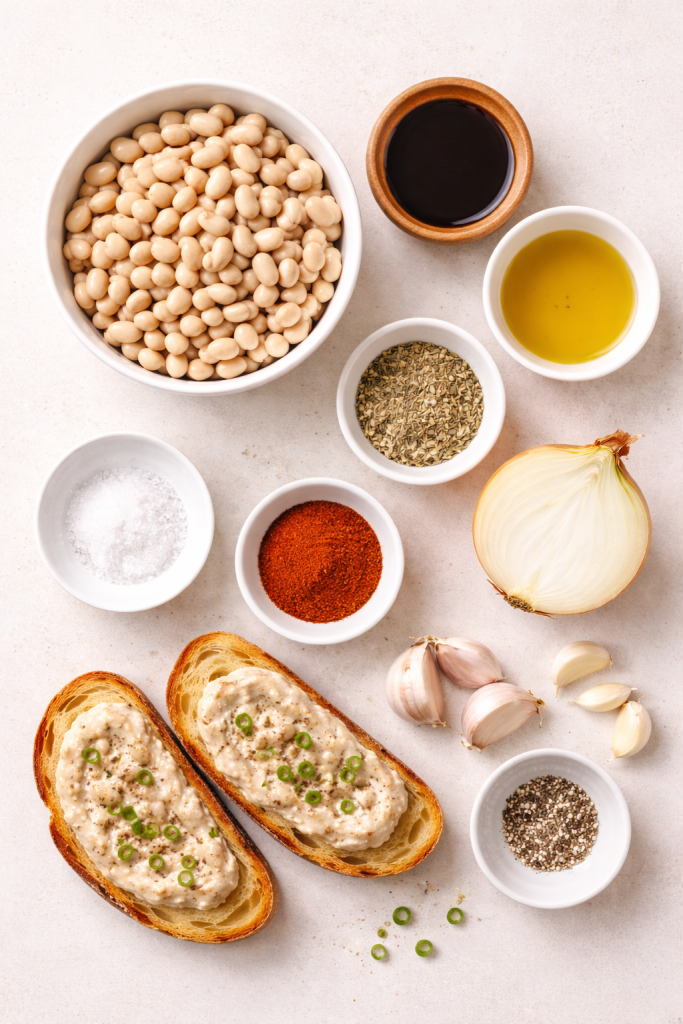
Ingredients
Related recipes: Crispy Tex-Mex Fish Sticks with Creamy Lime Dip
Easy Pistachio Cream Rolls (Crispy, Creamy & Dubai-Inspired)
Crispy Air Fryer Onion Rings with Light Spiced Crunch

Instructions
- Start with the onion. Chop it finely — nothing fancy, just keep it small so it softens quickly.
- Heat olive oil in a pan and cook the onion over medium heat for about 6–7 minutes. You want it soft and slightly golden, not rushed. This is where most of the flavor builds.
- Add the garlic and cook for another 30 seconds. Just until fragrant — don’t let it burn.
- Add the drained beans straight into the pan. Stir everything together and let it warm up for a minute or two.
- Now add soy sauce, marjoram, smoked paprika, salt, and pepper. Mix well and let it cook for another 2–3 minutes so everything blends.
- Transfer the mixture to a blender or food processor. Blend until smooth, adding a little water if needed. You’re aiming for a spreadable texture — not too thick, not runny.
- Taste it. This part matters. Sometimes it needs a bit more salt or a touch more soy sauce.
- Let it cool slightly — it thickens a bit as it sits.
What actually matters here:
Don’t rush the onion. If it’s undercooked, the whole spread feels flat. Give it those extra few minutes — it changes everything.


Leave a Reply