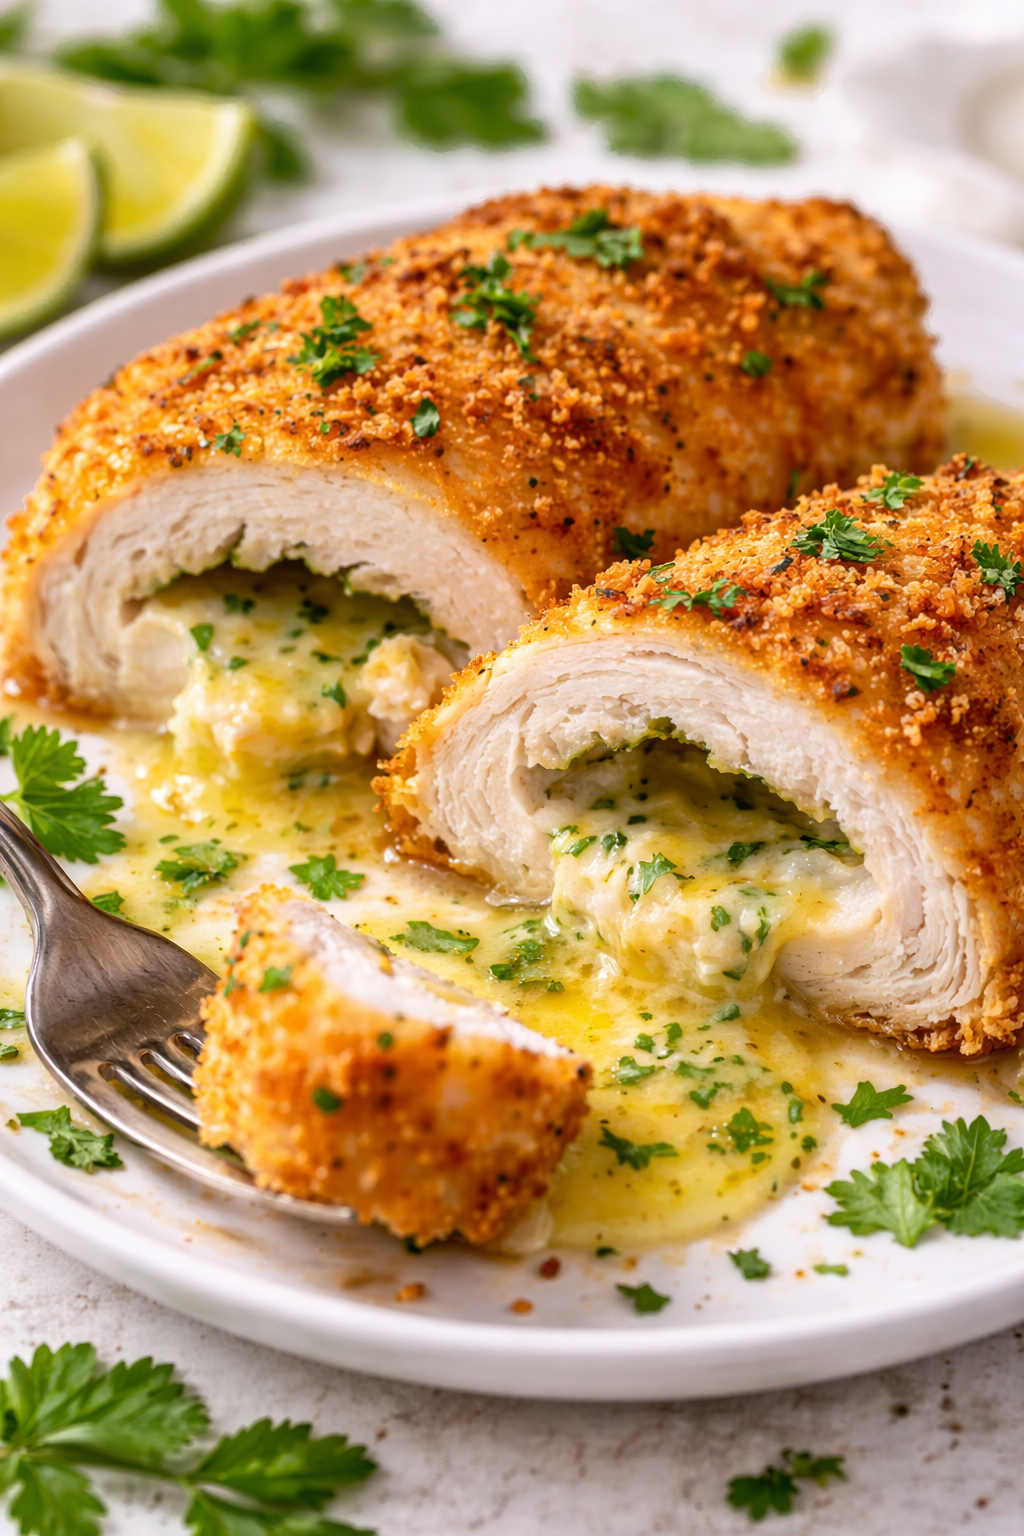
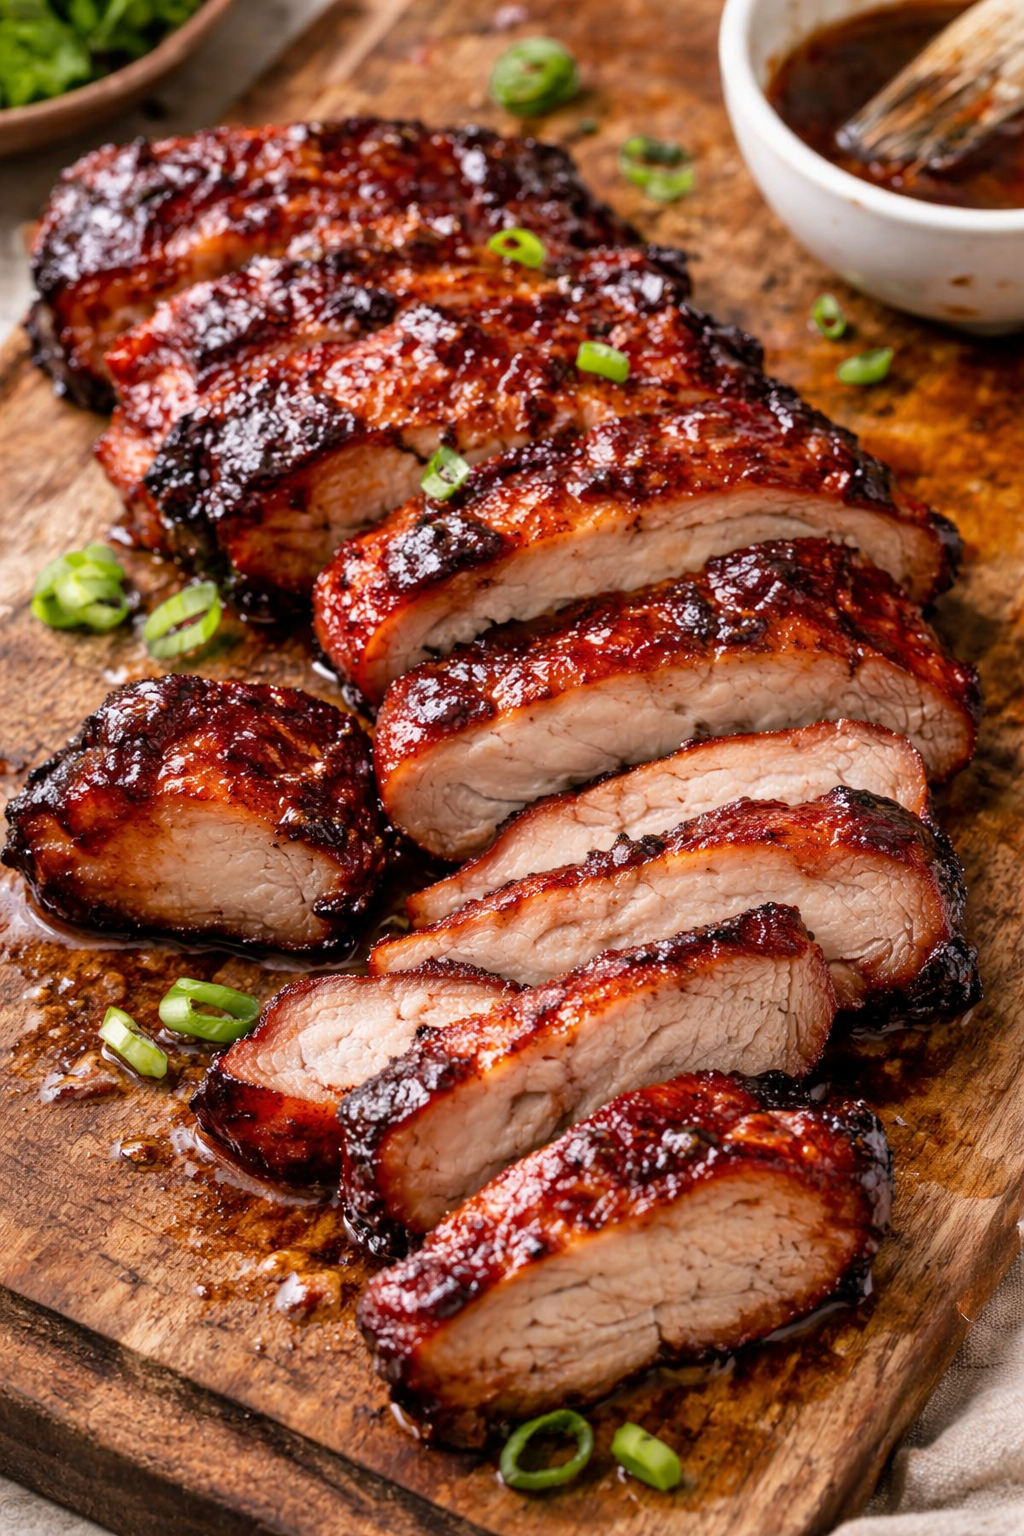
Air fryer chicken kiev sounds like one of those things that should be complicated… but actually isn’t if you set it up right from the start.
Golden, crispy coating on the outside, and inside? That buttery garlic center that melts the second you cut into it (this is the part you don’t want to rush).
It’s one of those meals that feels fancy, but you can absolutely pull it off on a random weekday.
You just need a little patience at the beginning — after that, it’s mostly hands-off.
Quick Info
Difficulty: Medium
Time: ~45 minutes (including chilling)
Servings: 2

Ingredients

Related recipes: One Pot Chicken Lasagne – Easy, Creamy & No Layers Needed
Air Fryer Hibachi Chicken (Juicy, Garlicky & Slightly Addictive)
Chicken Honey Garlic Recipe (Sticky, Glossy & Hard to Stop Eating)
Instructions
- Start with the garlic butter because it needs a bit of time to firm up. Mix softened butter with minced garlic, parsley, salt, and pepper until everything is evenly combined. Scoop it onto parchment, shape into a small log, and place it in the freezer for about 15–20 minutes. It should be firm, not rock solid — this makes stuffing way easier later.
- While that chills, prep the chicken. Slice each breast horizontally to create a pocket — don’t cut all the way through. You want a deep pocket but still sealed on one side so the butter doesn’t leak out everywhere later.
- Take the chilled butter and cut it into pieces, then gently press it inside each chicken breast. Close it up as tightly as you can. If it feels loose, you can secure it with toothpicks (worth it, especially the first time).
- Now set up your coating: flour in one bowl, beaten egg in another, breadcrumbs in a third. Coat each chicken breast first in flour (this helps everything stick), then egg, then breadcrumbs. Press the breadcrumbs in slightly — this is what gives you that crispy shell.
- Place the coated chicken into the fridge for about 10 minutes before cooking. Don’t skip this — it helps the coating stay in place and reduces butter leakage.
- Preheat your air fryer to 180°C (356°F). Lightly spray the chicken with oil if you want extra crispiness.
- Cook for about 18–22 minutes, flipping halfway through. The outside should be golden and crisp, and the inside fully cooked — if you have a thermometer, aim for 74°C (165°F) in the thickest part.
- Let it rest for 3–5 minutes before cutting. I know it’s tempting, but cutting too early = butter everywhere instead of inside.
Ninja Crispi Version
Same prep, nothing changes there.
Preheat using the air crisp function to 180°C. Place the chicken in the basket without overcrowding.
Cook for about 16–20 minutes, flipping halfway. Ninja tends to run a bit stronger, so check a little earlier. You’re looking for deep golden crust and fully cooked center.
Little Insight
If your butter leaks out, it’s almost always one of three things:
not sealed well enough, butter too soft, or skipped chilling step.
Fix those and it works every time.
FAQ
Why does my chicken kiev burst in the air fryer?
Usually too much heat too fast or weak sealing. Keep temp moderate and secure it well.
Do I need oil in the air fryer?
Not required, but a light spray gives you a much better golden crust.

Leave a Reply